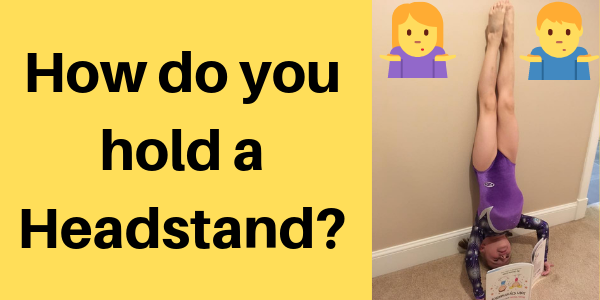
Your children may forever be upside-down, but do they know how to hold their headstand with good technique? This blog unpicks our top tips to successfully holding a Headstand. Feel free to skip to the video at the bottom for a demonstration with technical commentary.
1. Make a Triangle Shape
If you imagine a stall with three legs, this would be useless unless the three legs are in a triangle shape creating a stable base to sit on. The same applies to a Headstand. Your hands should be flat on the floor, a little more than shoulder-width apart with your head above, in the centre of the hands creating the top of the triangle.
2. Don’t put your knees down
It is important to keep your knees off the floor when walking the feet into a headstand position. The reason for this is to keep the bottom raised high in the air. This will help to spread the weight between the hands and the head/neck more equally, instead of straining the hands and not allowing for a straight line from the head to the toe.
3. Take your time
When getting into a headstand position it is important not to rush. Taking your time on both the way up and down will help keep the move under control and therefore safe.
4. Practice a Tucked Headstand
Lift your feet, one at a time, into a tuck shape, to simplify this move. This will help you get used to balancing upside down. Once you can comfortably hold this for 5-20 seconds you should be ready to move on to the next stage of the headstand. The next stage involves straightening one leg and keeping one tucked, then slowly moving the tucked leg straight, to make a full headstand.
5. Practice against a wall
If you still find it difficult to balance try having the back of your head as well as your back and legs against the wall. Make sure you are doing this on a matted or another safe surface to protect the top of your head.
To learn how to teach skills like these, try out our online course ‘Learn & Teach Gymnastics Skills’ now! Click the button below to find out more.


Add Comment